Creating WCF Data Service using OData
Hi Friends,
Today let's talk a bit about OData protocol and how to host a simple WCF data services in IIS 8.
Open Data Protocol or OData for short is used almost in everywhere in the software industry to exchange data. It is a open standard and many technologies like .net, java, iOS, android, ruby, javascript etc... provide adequate support for OData exchange. Let's create a simple WCF data service and see how to host it in IIS 8. Follow these simple steps.
Before that, This is a summary of what we are about to do.
"We create a simple database with one table, and expose the data using WCF data service to clients as XML or Json. The service is then be hosted in IIS 8 "
This is a Notification Service which will push daily notifications upon user requests. Once a user request with the date, it will send the related notification to the user. Very simple service!! Let's get started..
Step 01
First off, we need to create a database. Go to your SQL Server Management studio and create a new database called "NotificationDb" with one table named "Notifications".
 |
| Fig1: Database Structure |
 |
| Fig2: Table Design View |
Have your 'Id' column auto increment by setting Is Identity = "Yes" down in the column properties.
Let's populate the table with few rows.
 |
| Fig3: Sample Data for Notification Table |
Alright, now that you are done with the database stuff, switch over to Visual Studio 2010/2012 and let's write some code.
Step 02
Go to File > New > Web Site.. and select ASP.NET Empty Web Site. Name your web site as "NotificationSite".
 |
| Figure 05. Adding Entity Data Model |
 |
| Figure 04. Create an Empty ASP.NET web application |
Ok. Now we got our "NotificationSite". Right click on the NotificationSite and select "Add Item". Then it will pop out. Fig5. You just have to select "ADO.NET Entity Data Model". Click Next. Then you will be asked permission to create App.Config file. App.Config file will be created
 |
| Figure 06 |
on App_Code folder. Then Choose "Generate From Database"(figure 07), provide a database model name (here i used "NotificationDataModel"), Continue with the wizard. Choose your correct database, then select the "Notification" table and click finish.
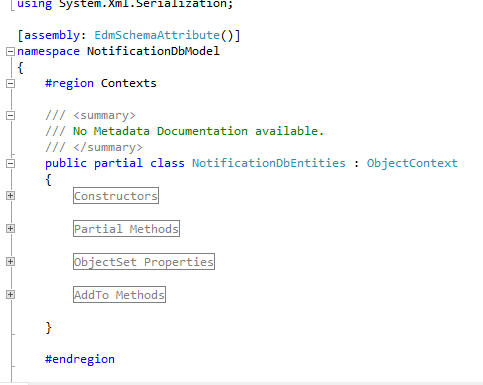
Once you have successfully done it, VS will show you a graphical representation of the table. Now click save and open "NotificationDataModel.Designer.cs" file in the App_Code folder.
 |
| Figure 07 |
The name of the first public partial class will be our data context which we will use to interact with database with our WCF data service. Alright, let's now create our service.
 |
| Figure 08 |
Right click on the website, go to Add New Items, and from the window, select "WCF Data Service".
Provide a suitable name, ex: "NotificationDataService" and click Ok.
Now we have already built our service. Finally set configurations as in figure 09. Here we have granted read permission to all the all the tables in the database(in our case, we have just single table) and we have defined an access rule, "GetNotifications" which will return notification for the requested Year-Month-Day. Below, we have defined the method body for the GetNotifcations method.
 |
| Figure 09 |
Okay. now we have finally finished :) Right click on the NotificationDataService.svc file and select "Set As Start Page". Now build and run. Now you can pass parameters and request data from via url. Check out the following example request.
You will receive something similar to figure10 as the response.
 |
| Figure 10 |
It is very simple to expose data via OData. Hope you guys got the idea ;-)
Cheers!

Comments
Post a Comment